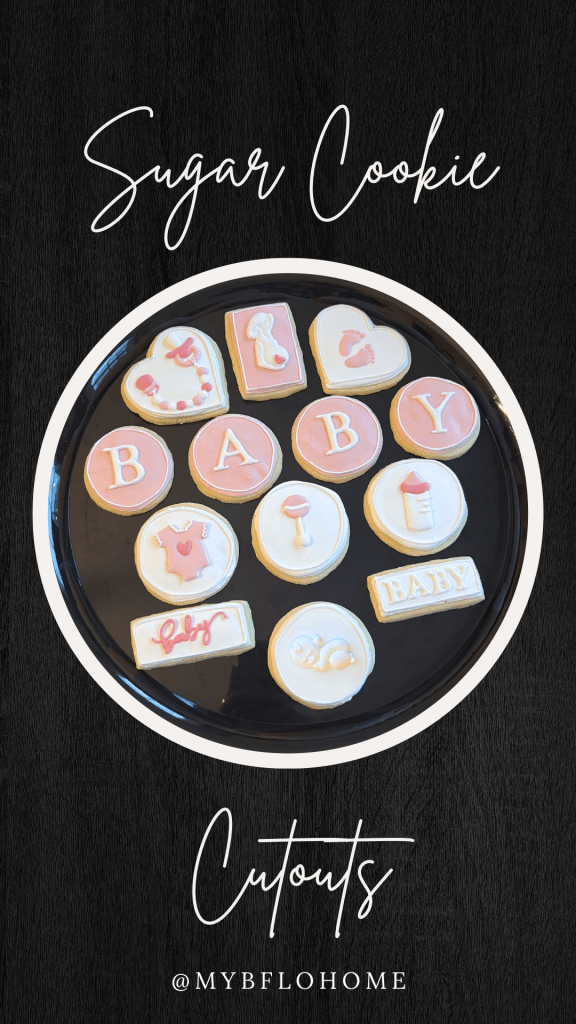
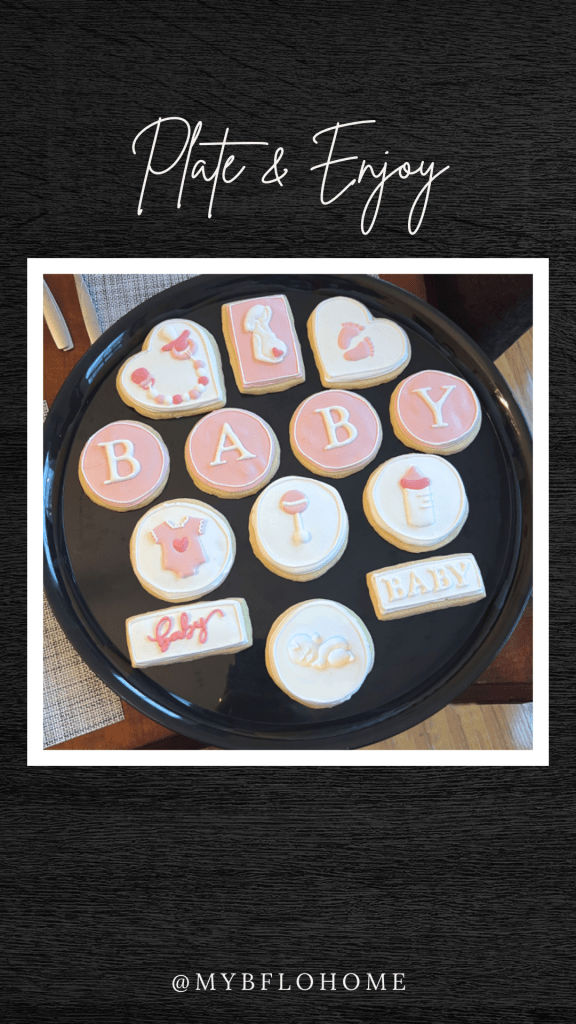
A few tips and tricks for making gluten free sugar cookies with royal icing. These were created for a friend’s baby shower. It’s a girl!!!
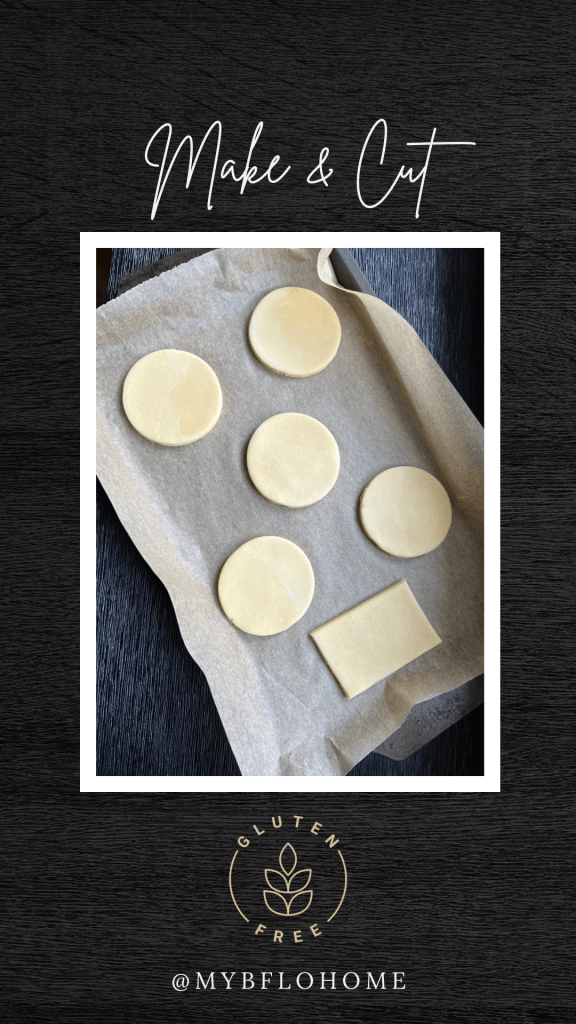
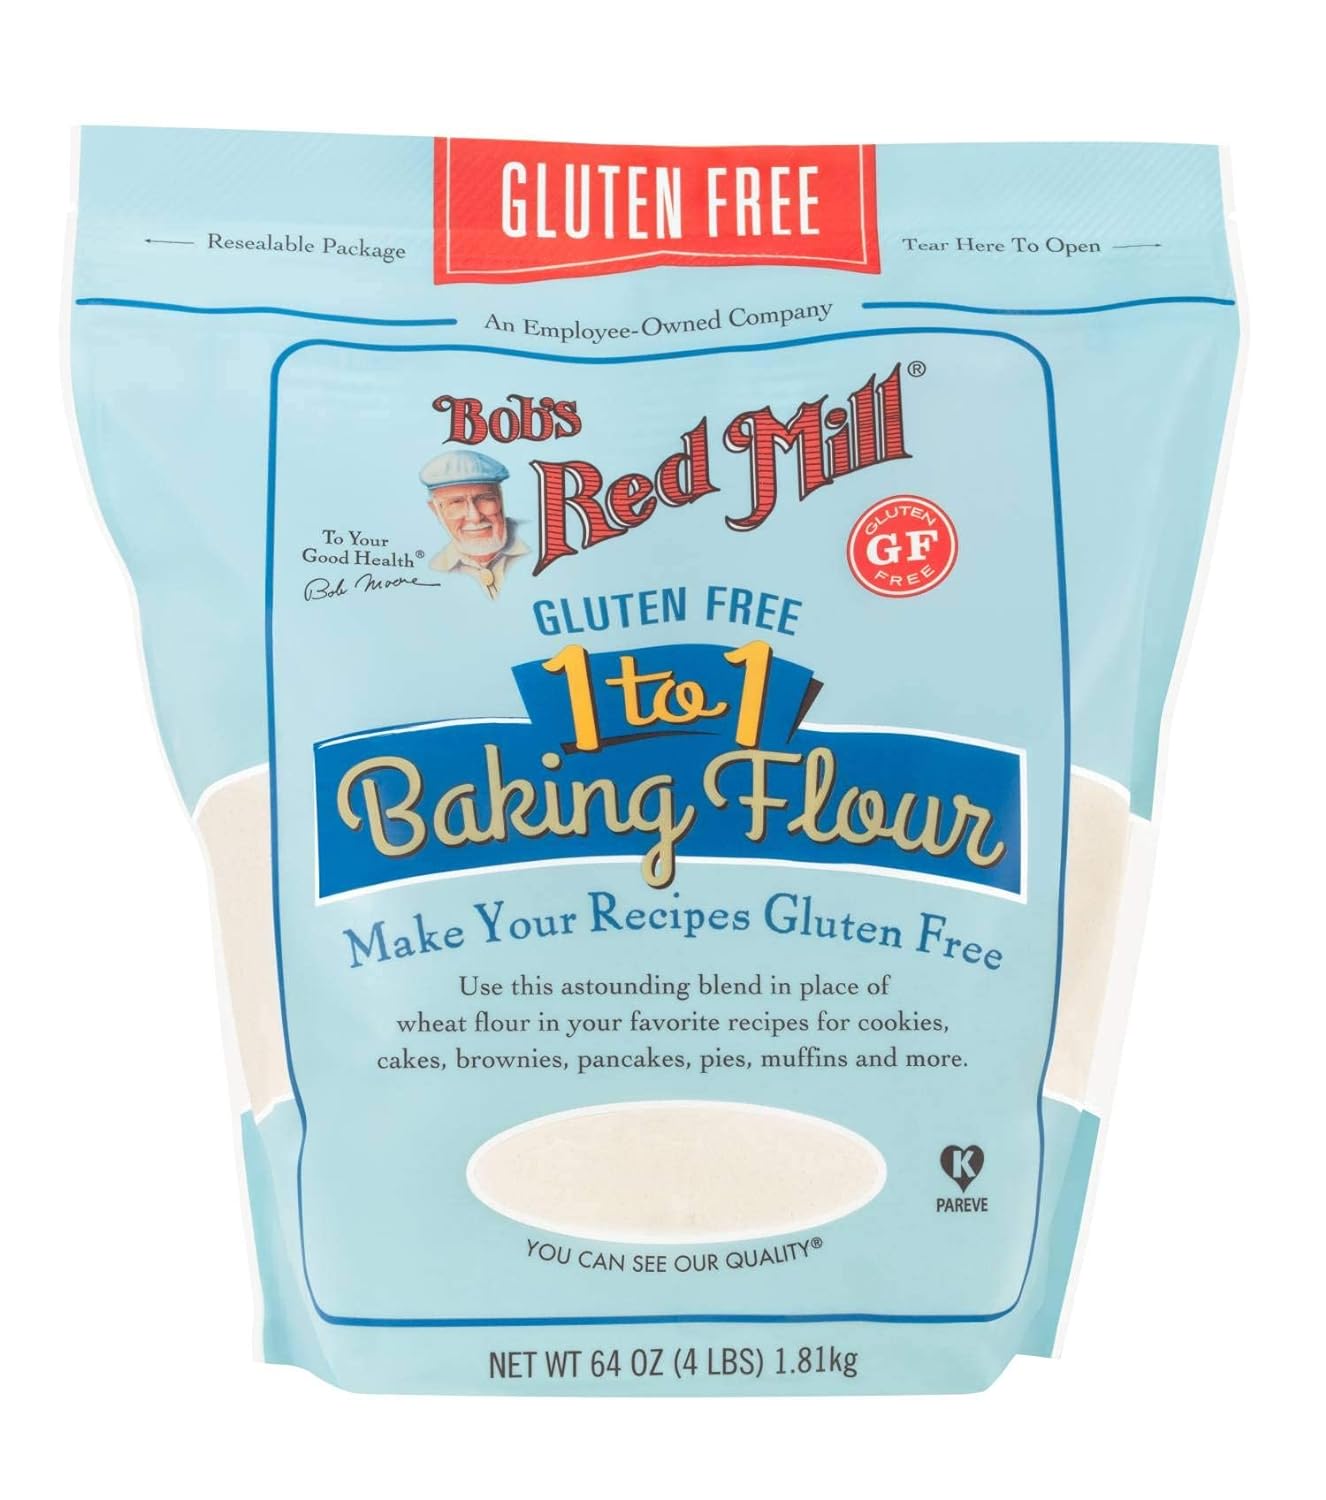
The Dough: Prep your dough with the recipe of your choice. These cookies are made Gluten Free. Be sure to wrap dough in plastic wrap and place into the fridge for at least 1 hour prior to rolling. Chilled dough is much easier to work with. Roll out your dough using flour or powdered sugar to prevent sticking and transfer your cookie cutouts to a parchment lined baking sheet.
Tip: Flatten dough into a square or disk prior to chilling. This makes it easier to roll out afterwards. Also, if freezing, this is better for storage space.
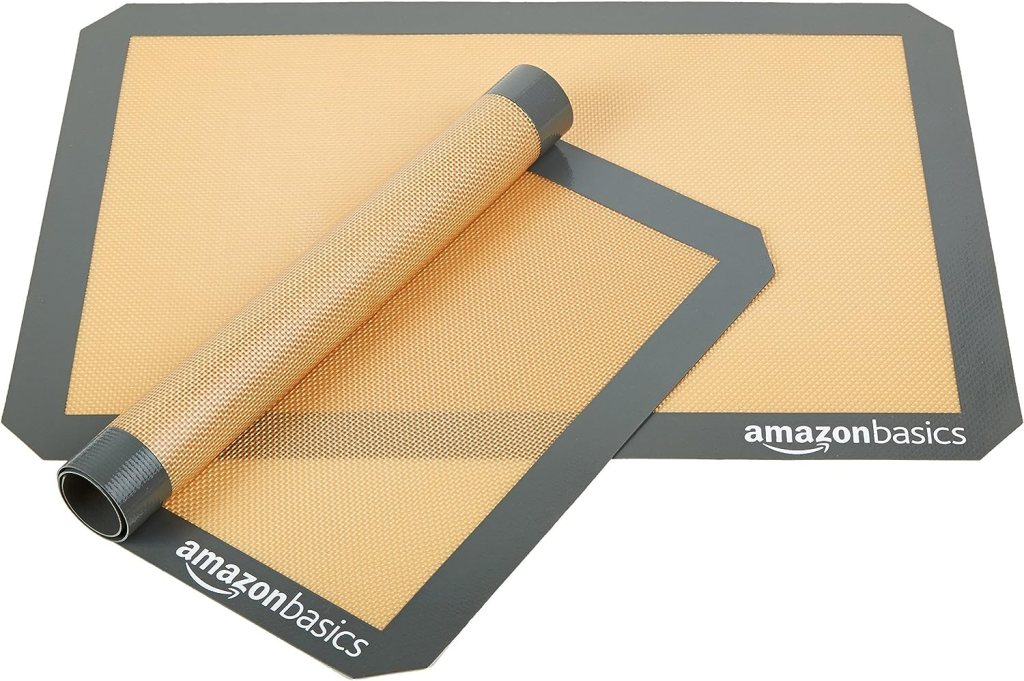
Tip: For easier cleanup, roll out the dough between two sheets of silicone mats or parchment paper.
Store: You can store dough wrapped in plastic wrap and in an airtight container in the fridge for up to 3 days
Freeze: You can freeze the wrapped dough in an airtight container for up to 3 months
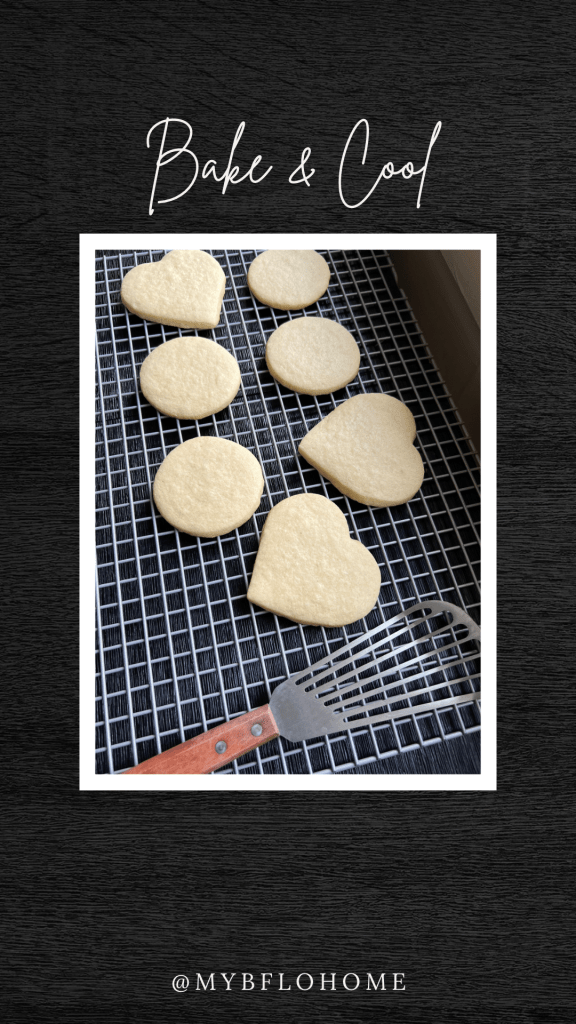
Baked Cookies: bake at 325° for 12-15 mins based on thickness of your cutouts.
Tip: Freeze for 10-15 minutes prior to putting in the oven to help cookies hold their shape and prevent burned edges, while keeping a soft center
Store: Place cooled cookies into an airtight container and keep in a cool dry place for up to 1 week. You can store in the fridge for up to 2 weeks or freeze for up to 3 months. Note: cookies may start to go stale after one week if not transferred to the freezer.
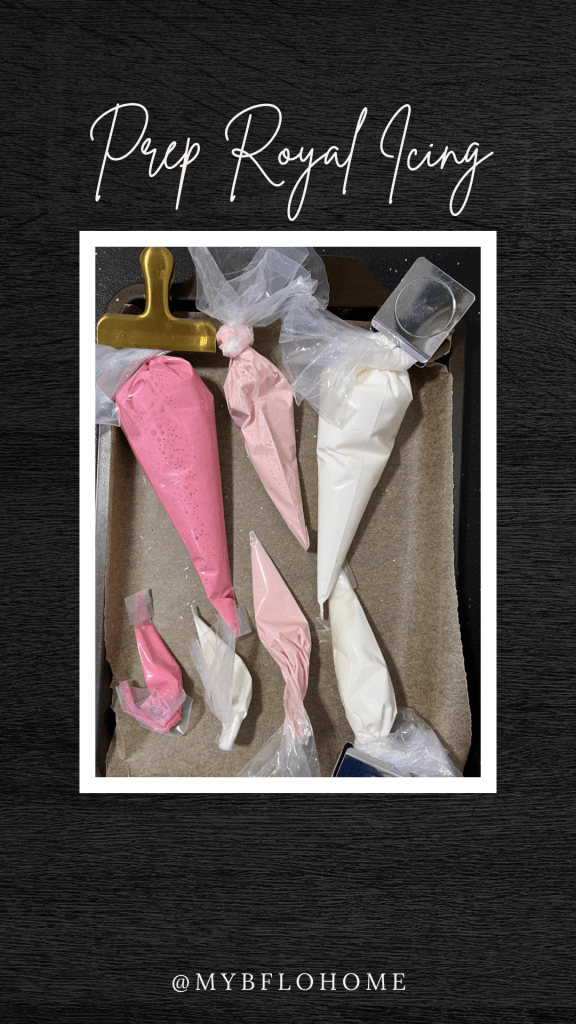
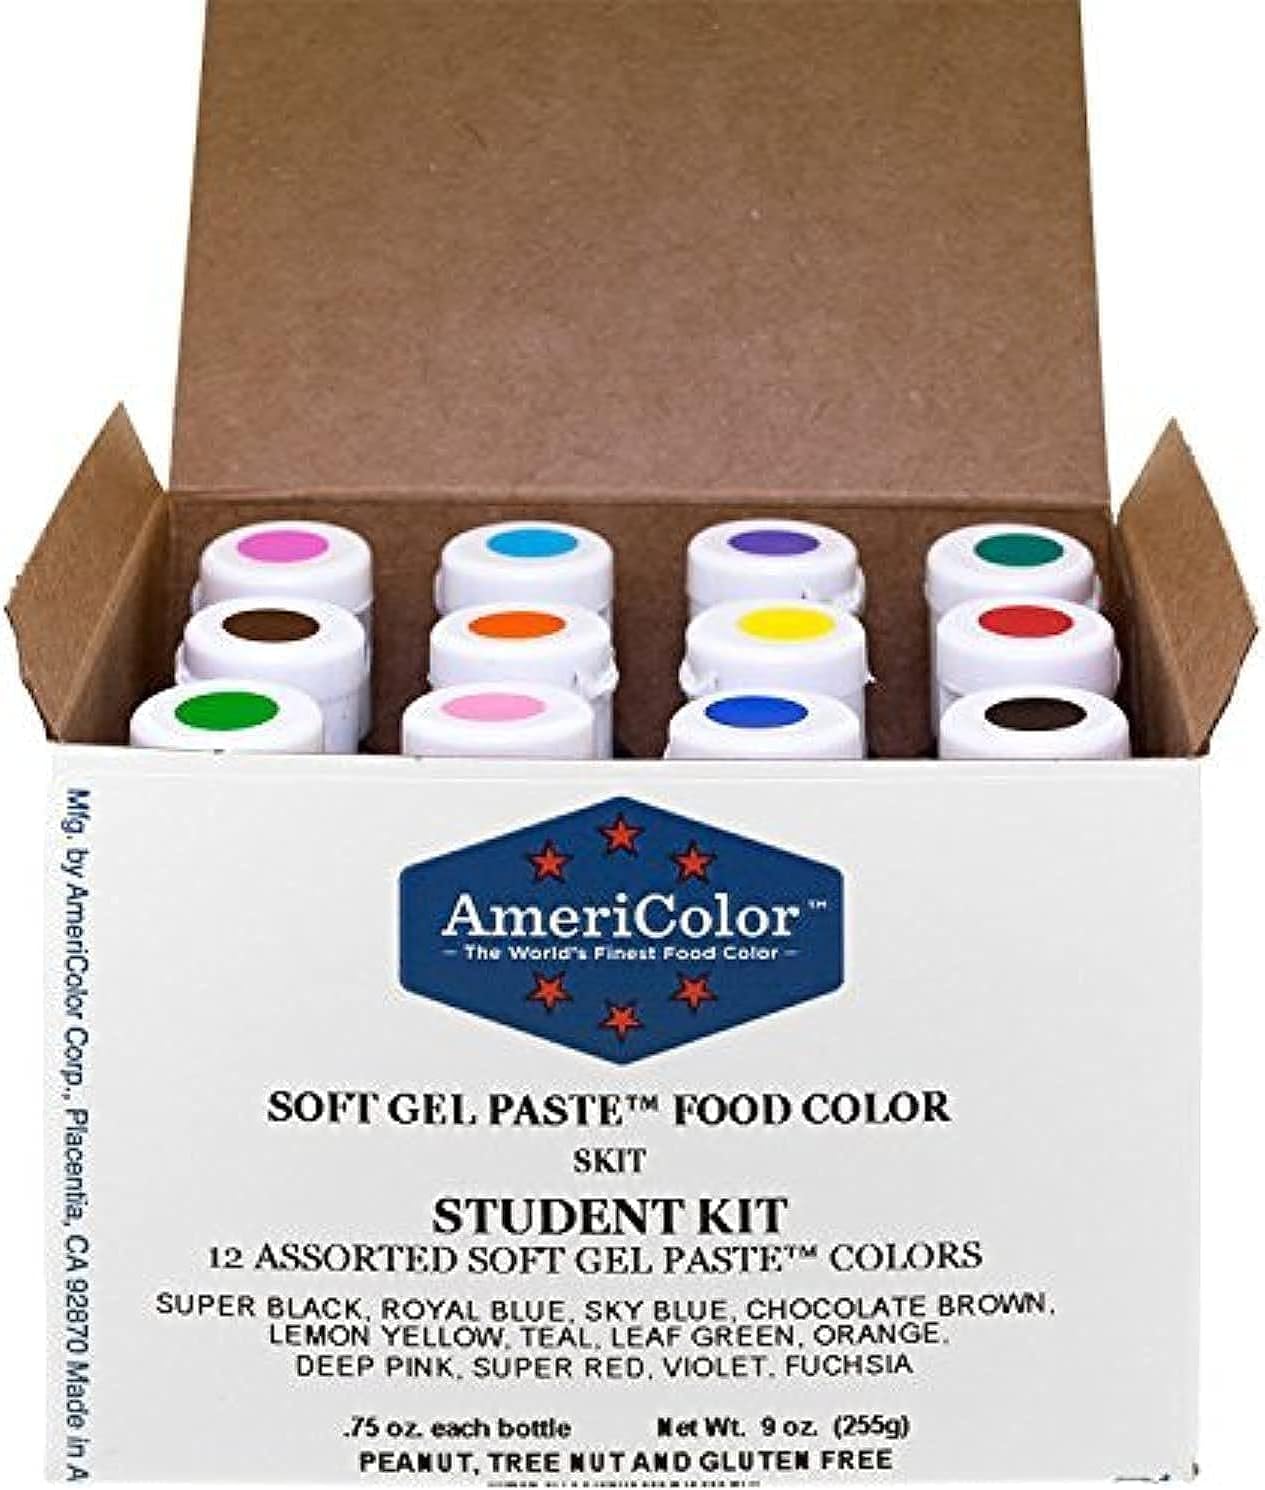
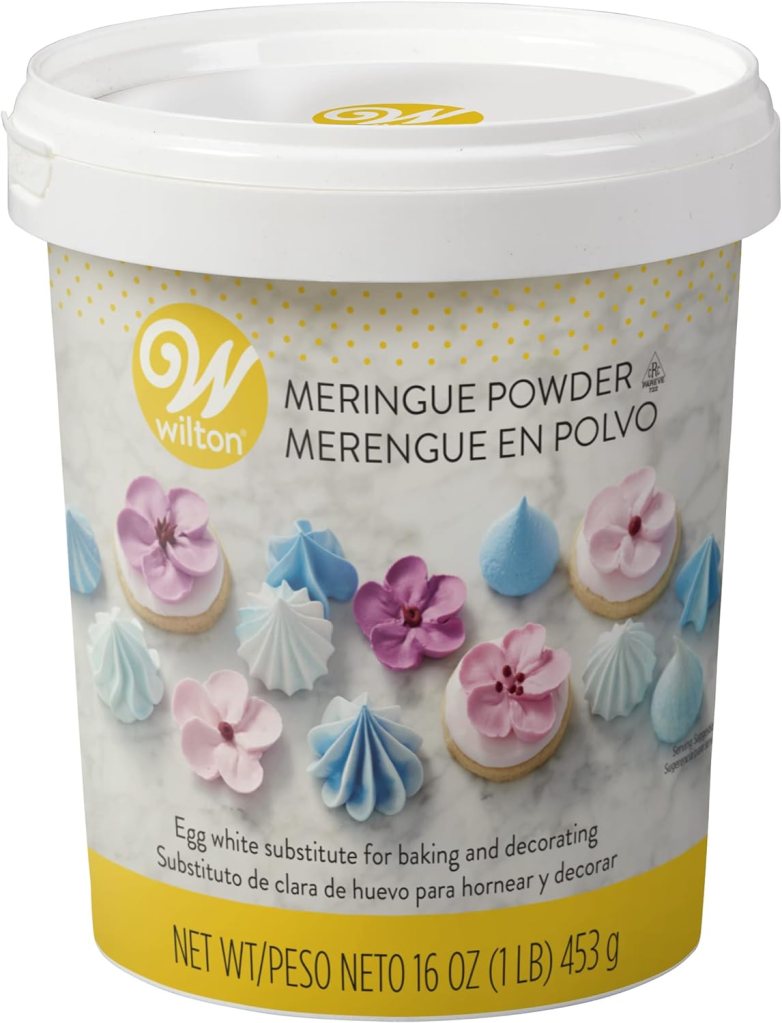
Royal Icing Base: Prep your royal icing then transfer small amounts of the Stiff icing to separate bowls to make the varying consistencies of Piping, Medium, & Flood. Be sure to reserve some Stiff icing for any optional decorations or additional icing needed later on.
Tip: Color icing before thinning – this helps to control water content when thinning as different dyes have different water amounts.
Tip: Use a spray bottle to thin your icing – helps to prevent overwatering
Store: If not using immediately be sure to place in an airtight container – be sure to place plastic wrap directly onto the icing to prevent any contact with air. You can keep in the fridge for up to 2 days or freeze in freezer safe bags for up to 2 months – bring to room temperature before use.
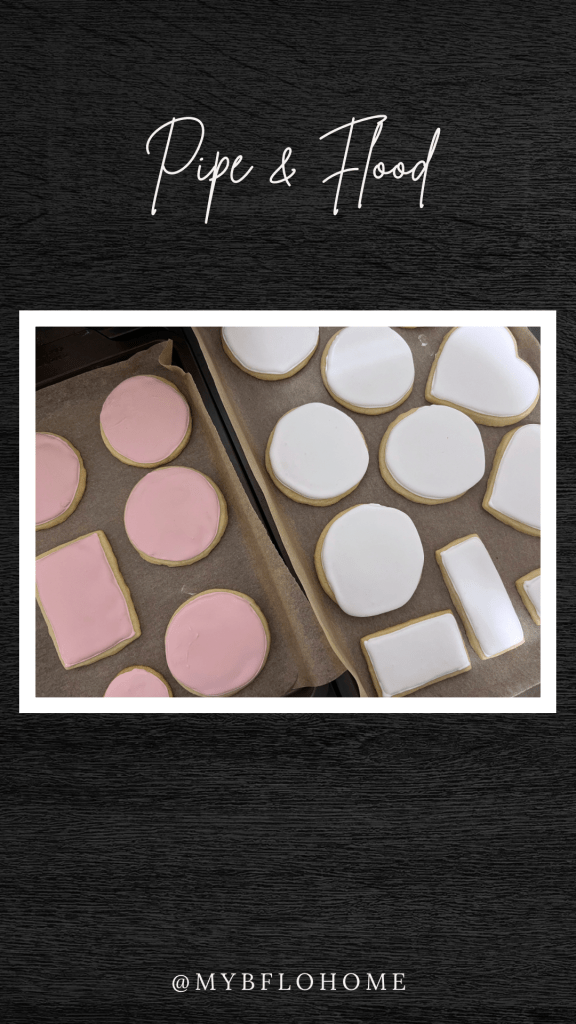
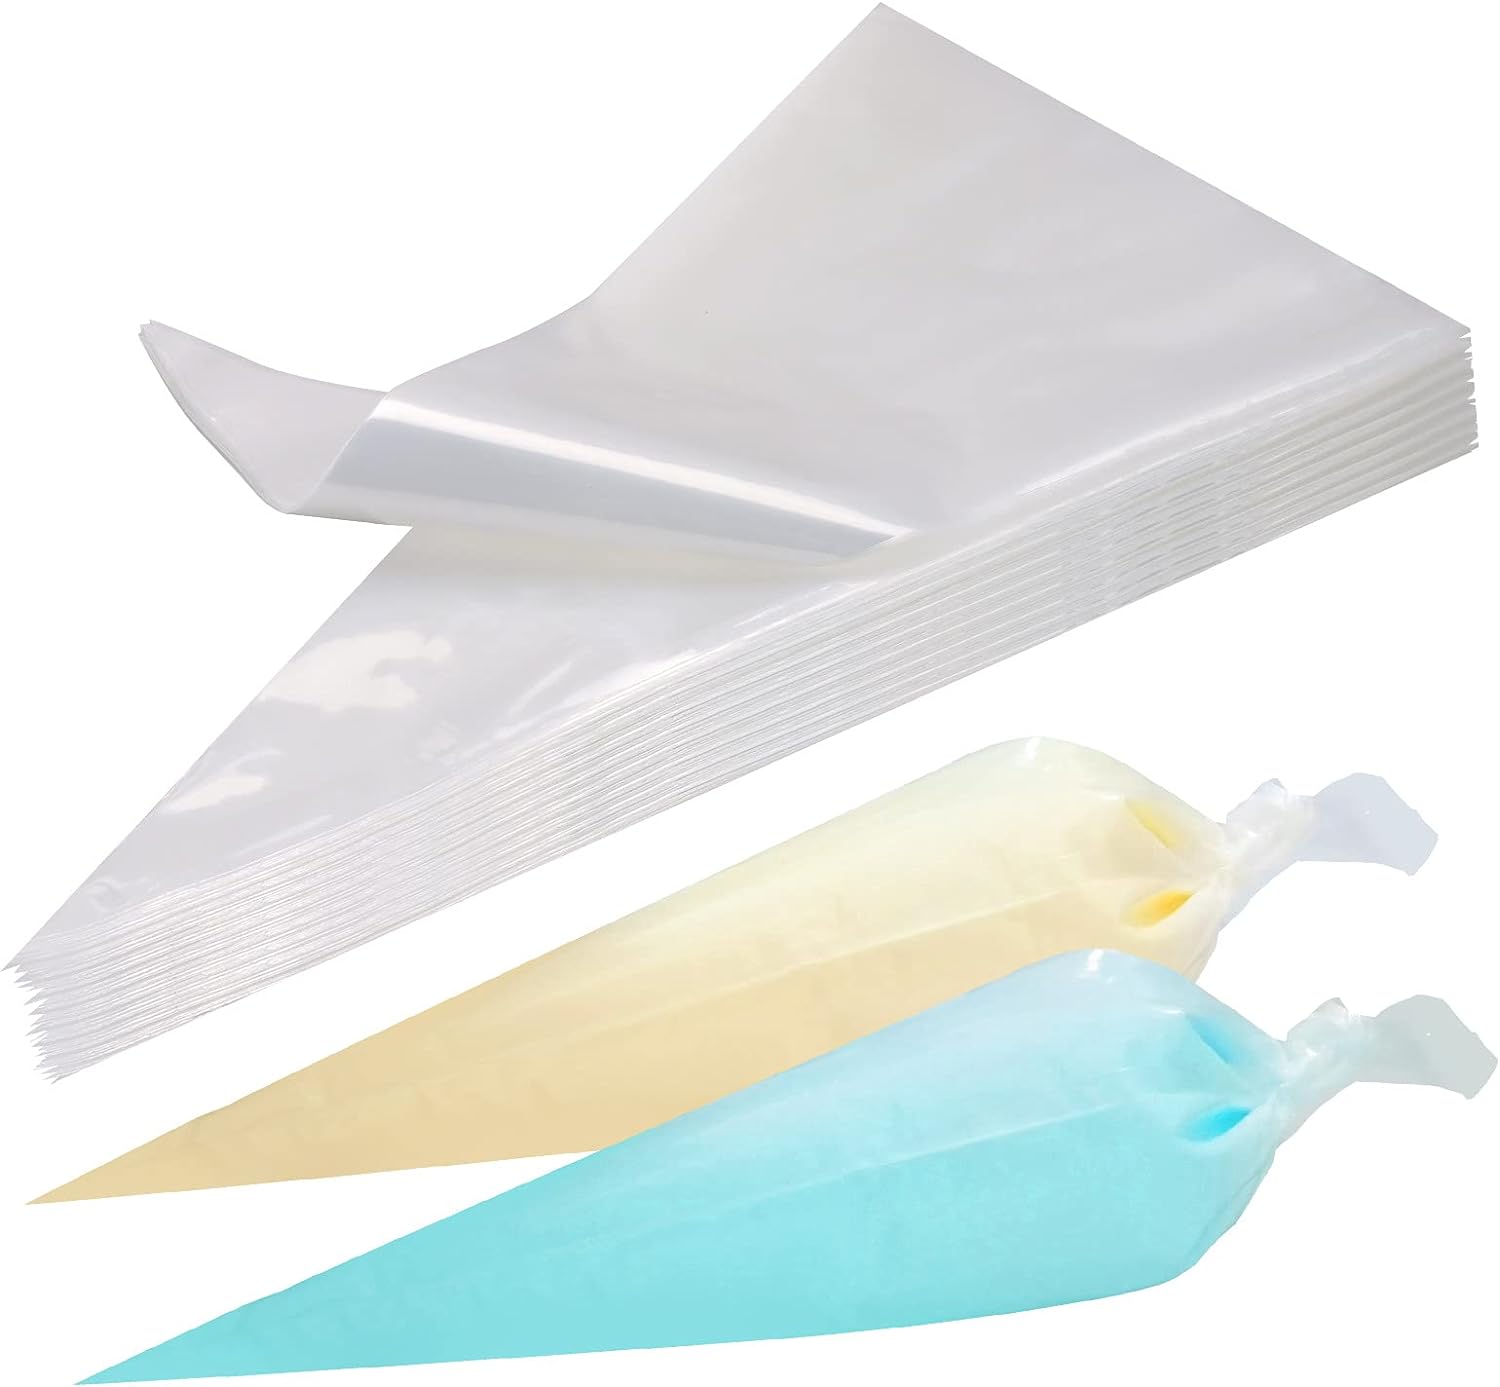
Piping: Outline your cookies with Piping consistency royal icing.
Tip: Press icing bead onto cookie then lift your icing tip, with consistent pressure, 1-2 inches off of the cookie and continue with the shape of your outline. Allow the icing to gently lay onto the cookie – this allows for cleaner lines as opposed to holding your tip directly on the cookie.
Flood: Fill outlined cookies with flood consistency icing then use a toothpick or scriber needle to remove any air bubbles and spread icing to fill area completely
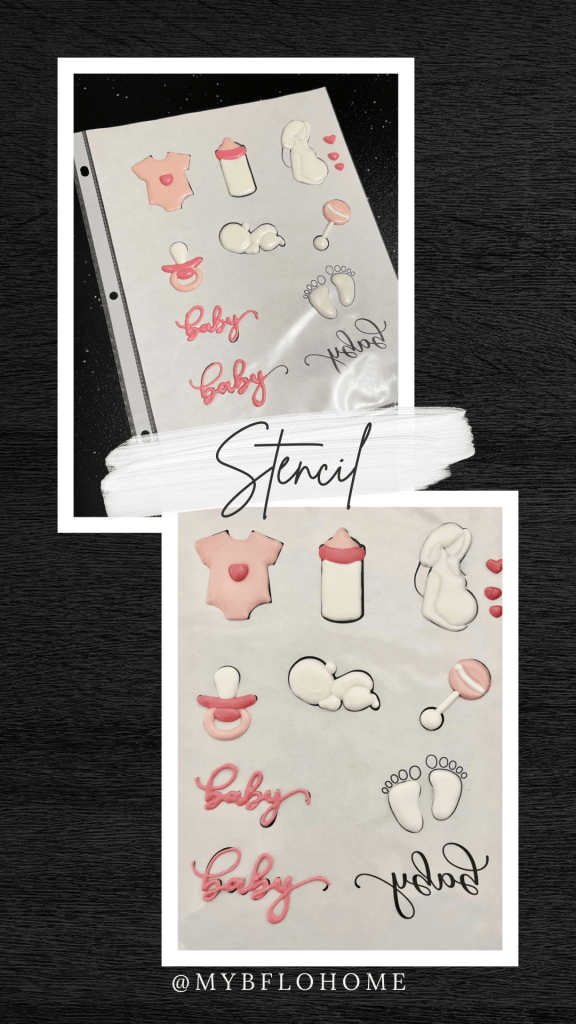
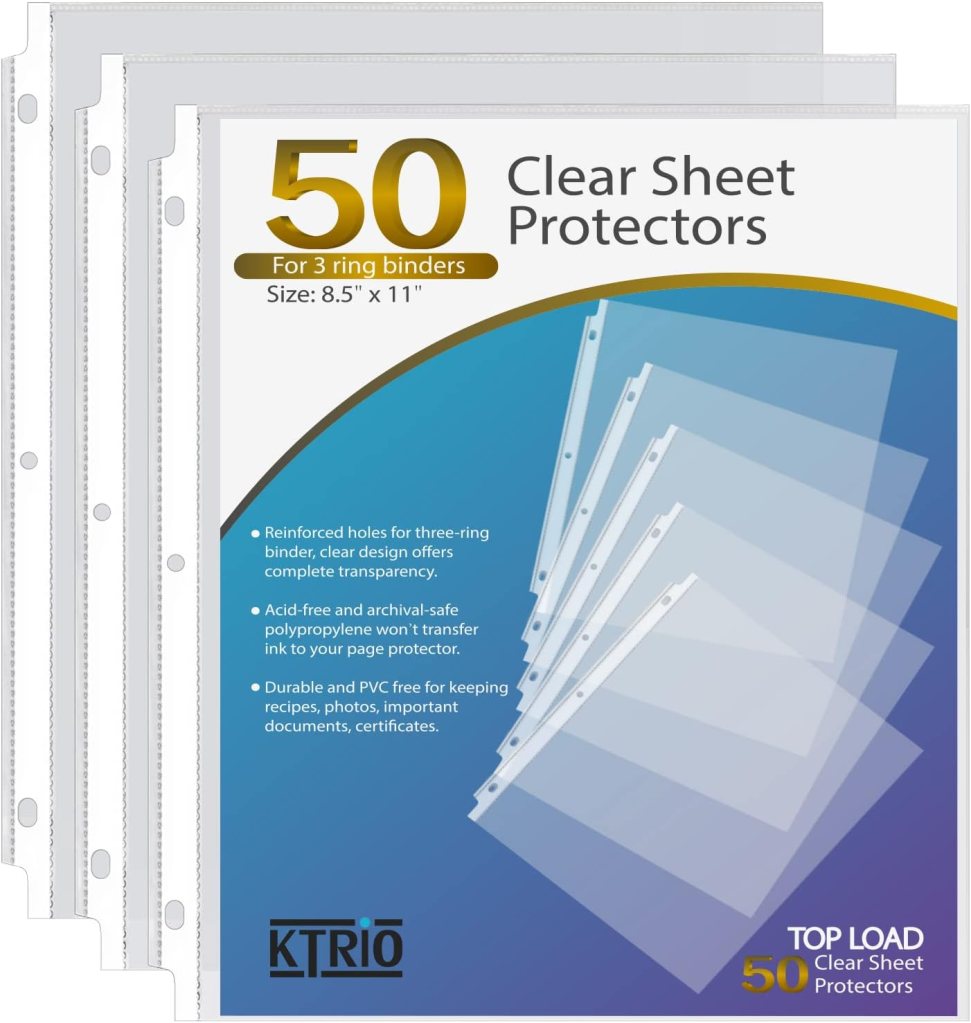
Royal Icing Transfers: print images on paper and place in a food safe sheet protector. You are then able to pipe over top and reuse as needed. You will need to use Piping or Medium consistency icing. Allow the stencils to dry completely before removing or you will risk cracking/breaking. Then use a lil extra icing to attach to the cookie
I was influenced by Your Baking Bestie, who has all the information on royal icing transfers, if you want to learn more.
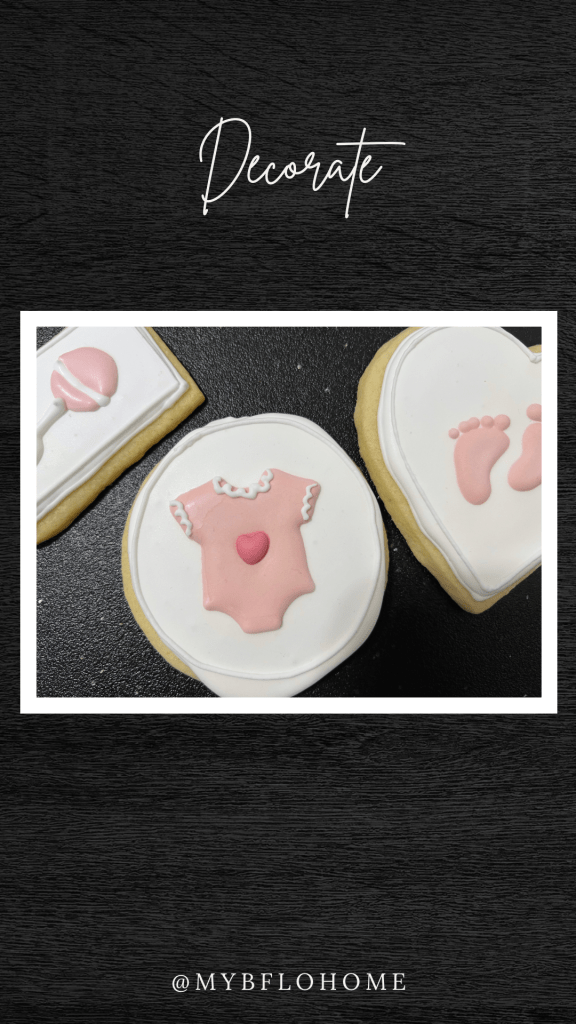
Decorate: Add stencils to your cookies and add any details or embellishments you would like
Tip: Allow to dry completely for 12-24 hours before stacking to avoid any breaks in your cookie designs
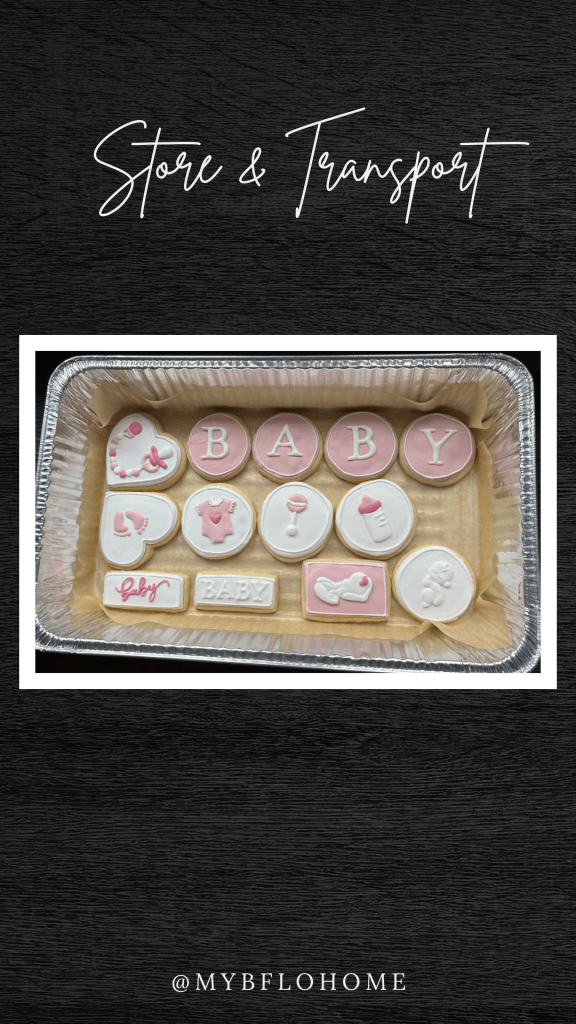
Store: If not immediately transporting, place cookies into an airtight container and store in a cool, dry place for up to 3 days. You can place in the fridge for up to 5 days or freeze for up to 3 months. However, I do not recommend freezing decorated cookies as it puts your decorations at risk for breaking – you are better off freezing undecorated cookies and then add the icing just before use.
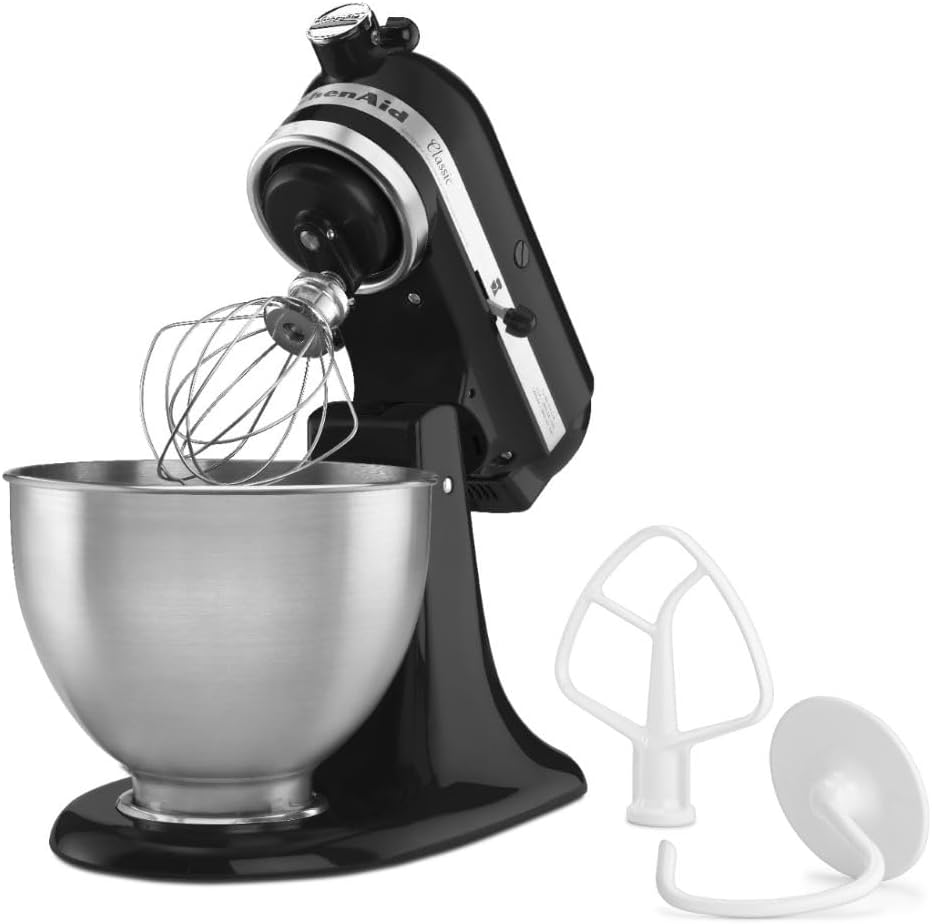
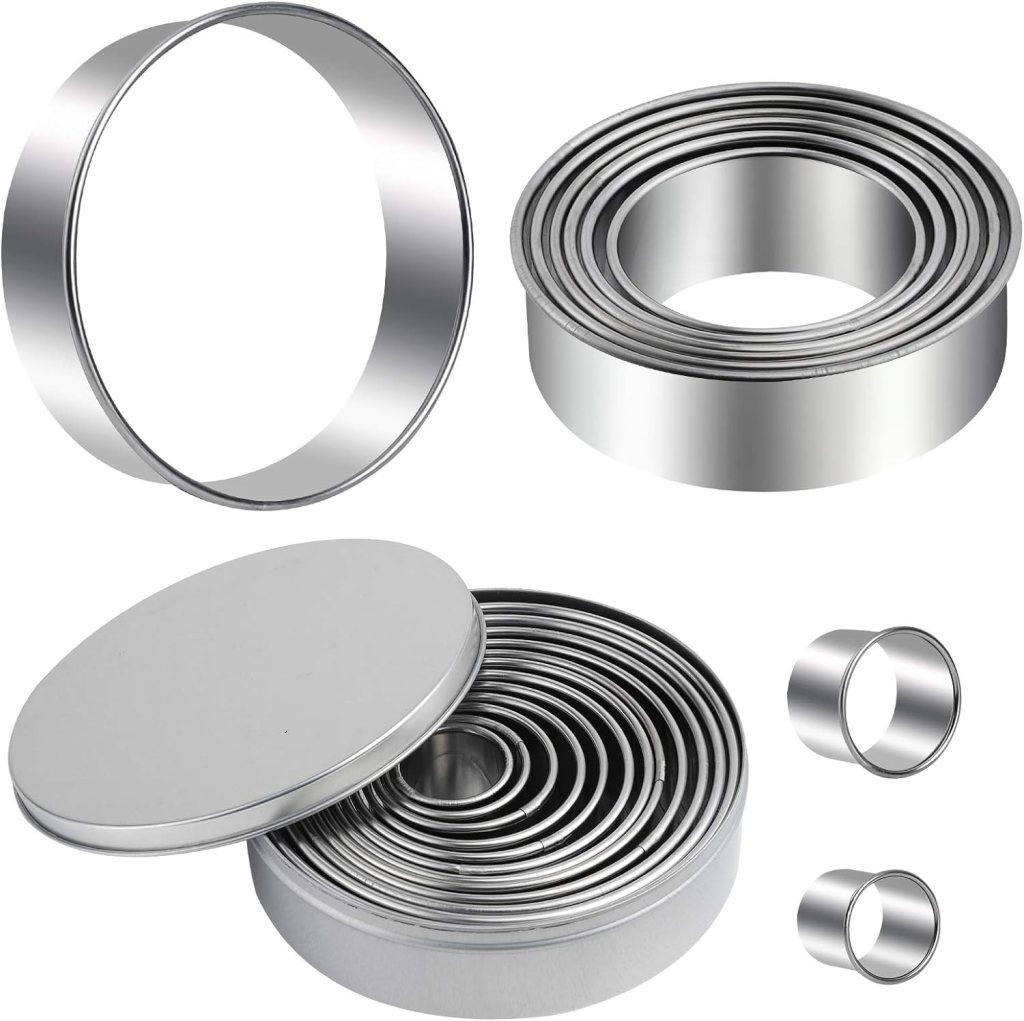
Product Links
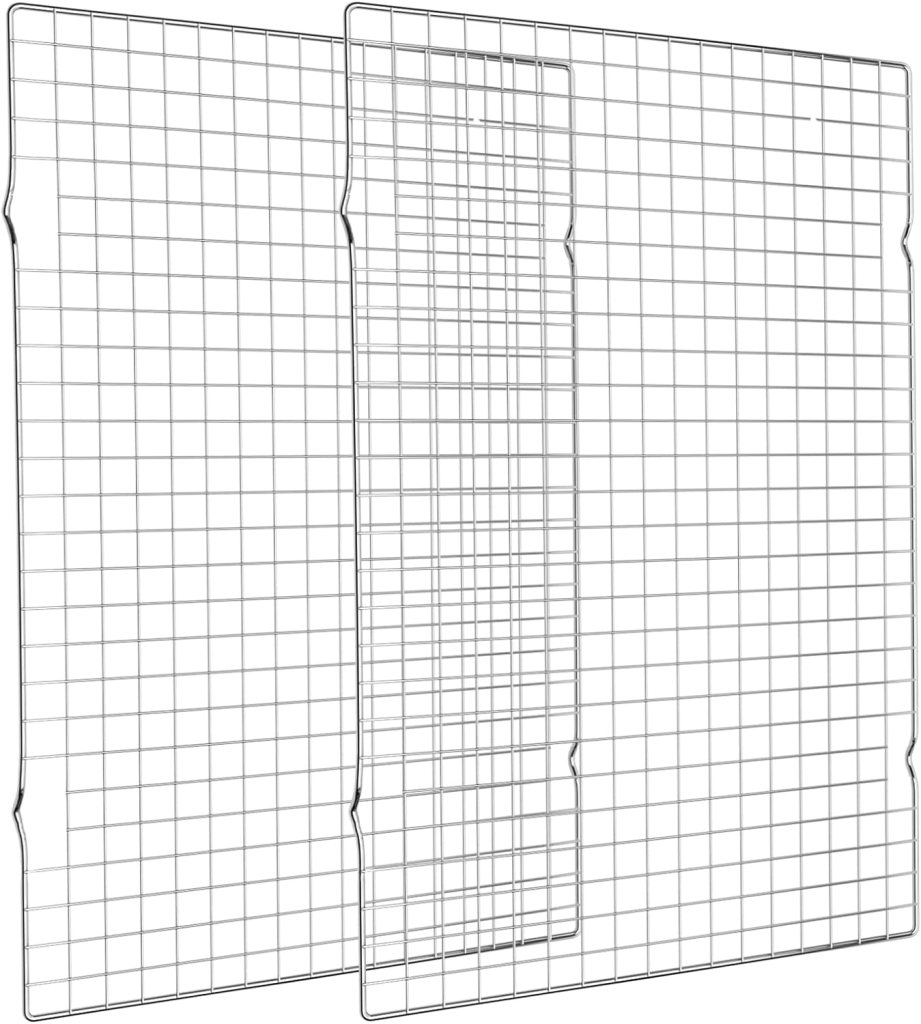
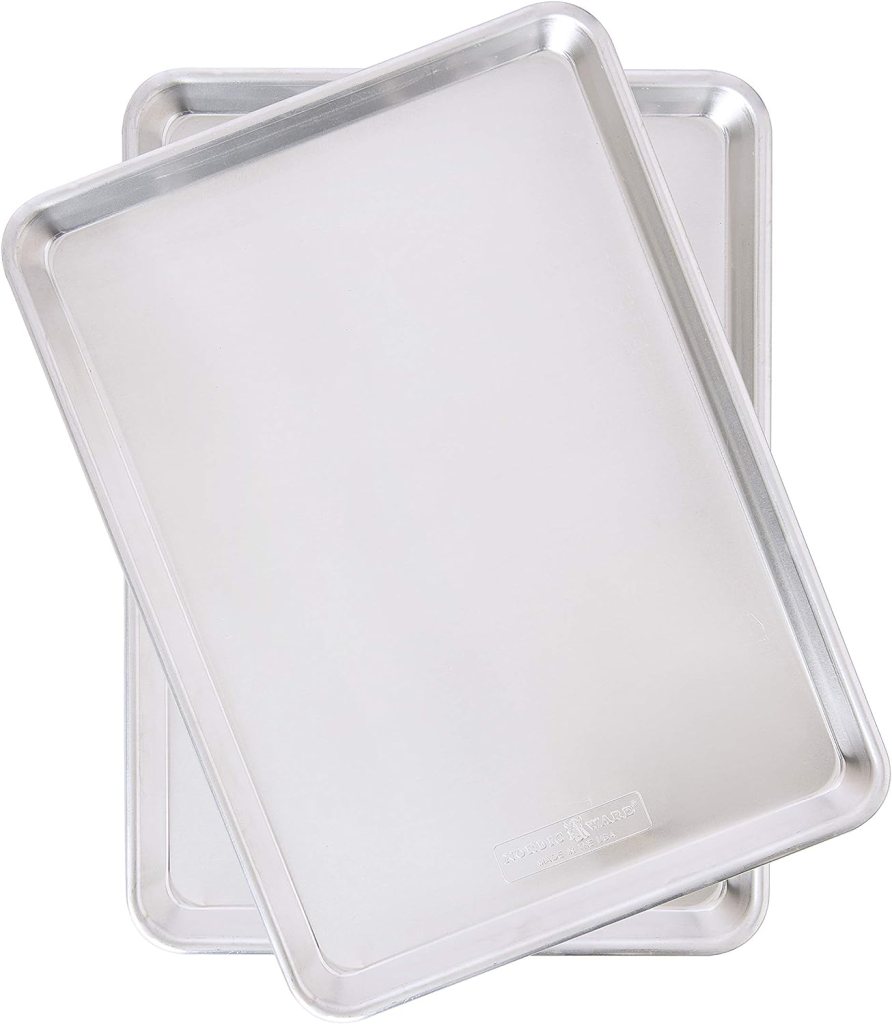
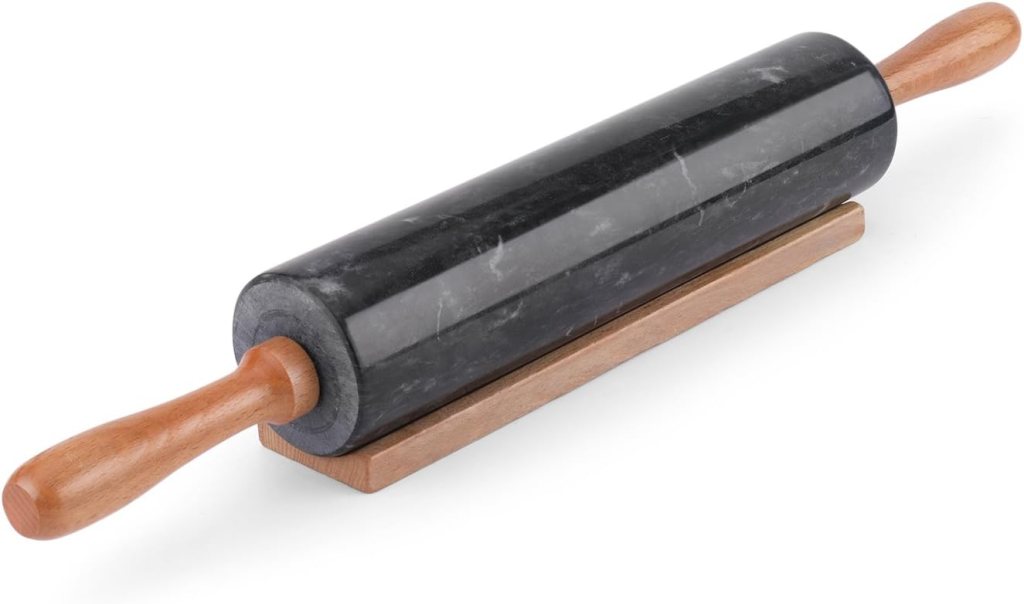
Here are links to the products used or similar.


Leave a comment